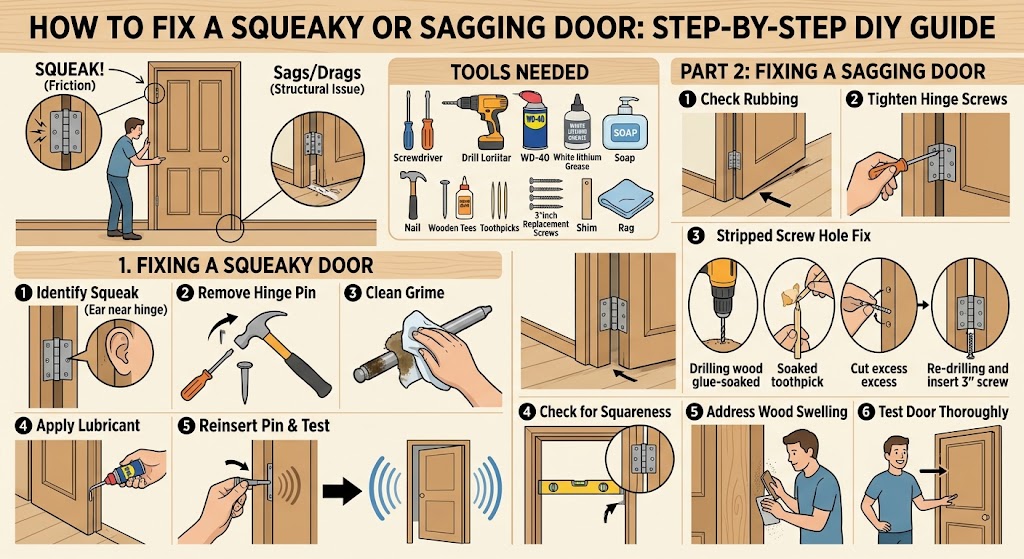
How to Fix a Squeaky or Sagging Door: Step-by-Step DIY Guide | Tricks and Tips for Life
How to Fix a Squeaky or Sagging Door: Step-by-Step DIY Guide
Fix a squeaky or sagging door yourself with this step-by-step guide covering hinge repair, screw tightening, lubrication, and tools you already own.
Home » Article » Diy » How To Fix A Squeaky Or Sagging Door Step By Step Diy Guide
There's a particular kind of annoyance that comes from a door that groans every time someone opens it, or one that scrapes the floor and won't latch right anymore. It's not a huge problem in the grand scheme of home repairs, but it's the kind of thing that nags at you every single day until you finally deal with it. The good news is that both squeaky doors and sagging doors are almost always caused by a small handful of issues, and nearly all of them can be fixed in an afternoon with tools you probably already have sitting in a drawer somewhere.
This guide walks through why doors start squeaking or sagging in the first place, then gives you clear, practical steps to fix both problems yourself, without needing to call a handyman or replace the whole door.
Why Doors Start Squeaking
A squeak almost always comes down to friction inside the hinge. Every time a door swings open or closed, the hinge pin rotates inside the hinge barrel (the cylindrical part that the pin slides through). Over months and years, the factory lubrication that was applied to that pin wears away. Add in a bit of household dust, humidity, or rust, and you get metal grinding against metal. That grinding is what produces the squeak.
In older homes, this is even more common because hinges were often installed decades ago and have simply never been serviced since. It's not a sign anything is broken; it's just normal wear that needs a bit of maintenance.
Why Doors Start Sagging
Sagging is a different issue entirely. Instead of a friction problem, it's usually a structural one. A door sags when the top corner drops slightly, causing the door to rub against the frame or the floor, or making it difficult to latch. This usually happens for one of these reasons:
| Cause | Explanation |
|---|---|
| Loose hinge screws | Over time, the screws holding the hinge to the door frame wear out the wood fibers around them, allowing the screws to spin freely without gripping anything solid. |
| Worn-out hinges | Cheap or aging hinges can develop play between the pin and barrel, letting the door shift out of alignment even if the screws are tight. |
| House settling | As a house ages, the foundation can shift slightly, which subtly changes the shape of the door frame and throws the door out of square. |
| Humidity and wood swelling | Wood doors expand and contract with moisture in the air, which can cause rubbing at the top or sides even without any hardware problem. |
| A heavy door on light-duty hinges | Solid wood or exterior doors sometimes get installed with hinges that aren't rated to hold that much weight long-term, leading to gradual drooping. |
Tools and Materials You'll Need
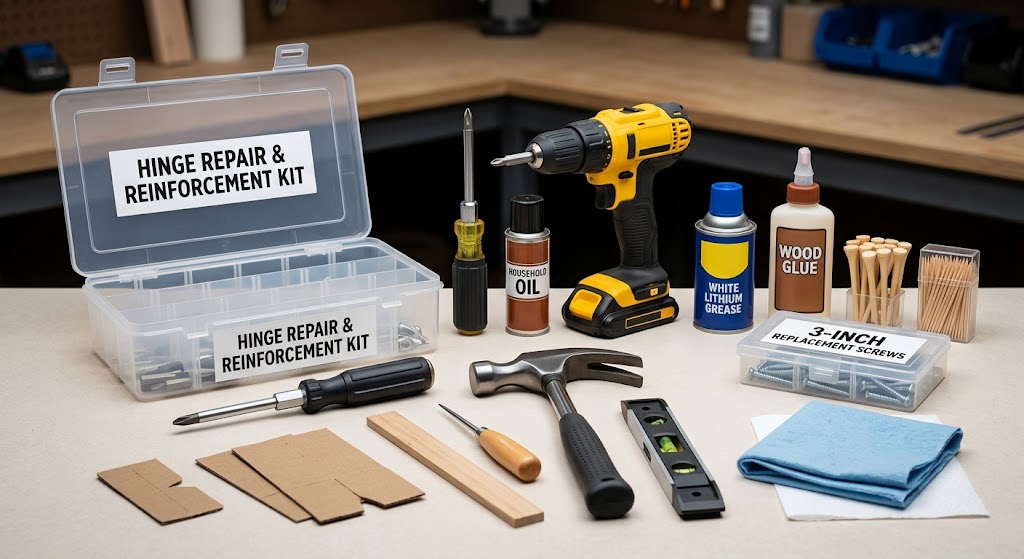
Almost everything on this list is inexpensive and reusable for future household repairs, so it's worth picking up the full kit even if you only need a couple of items today.
- A screwdriver (both Phillips and flathead, since hinge screws vary)
- A drill with a screwdriver bit (optional, but saves time)
- Lubricant: household oil, white lithium grease, or even a bar of soap or petroleum jelly in a pinch
- Wooden golf tees or toothpicks and wood glue
- Replacement screws, slightly longer than the originals (3-inch screws work well for reinforcing hinges)
- A hammer and a nail or awl
- A cardboard shim or thin piece of wood
- A level
- A rag or paper towel
Advertisement
Part 1: Fixing a Squeaky Door
This is the easier of the two repairs, and in most cases it takes less than ten minutes per door.
Step 1: Identify Which Hinge Is Squeaking
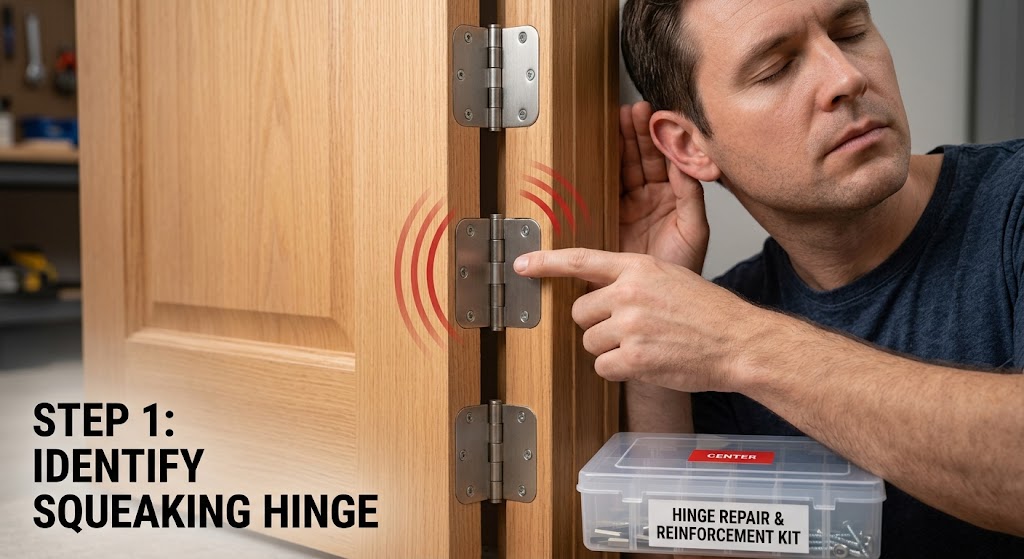
Most doors have two or three hinges, and it's rarely all of them squeaking at once. Open and close the door slowly while listening closely, or place a hand near each hinge to feel for vibration. This tells you exactly where to focus your effort instead of lubricating hinges that don't need it.
Step 2: Remove the Hinge Pin
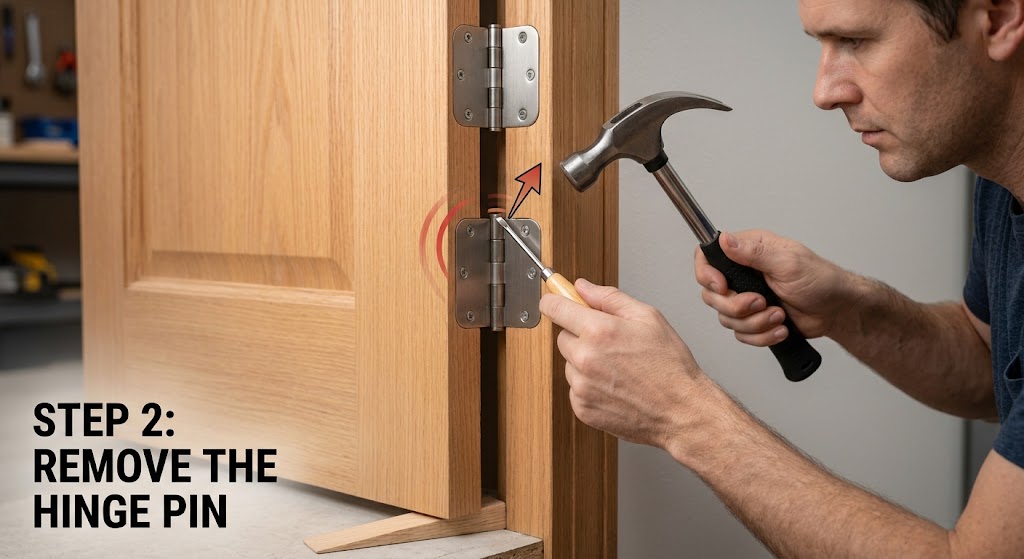
Each hinge has a pin running through the center that holds the two hinge plates together. To remove it, place the tip of a nail or flathead screwdriver under the head of the pin and tap it upward gently with a hammer. Work slowly. Once the pin is loose enough to grip with your fingers, pull it the rest of the way out. If the door is heavy, have someone hold it steady, or prop it with a wedge underneath so it doesn't shift while the pin is out.
Step 3: Clean Off Old Grime and Rust
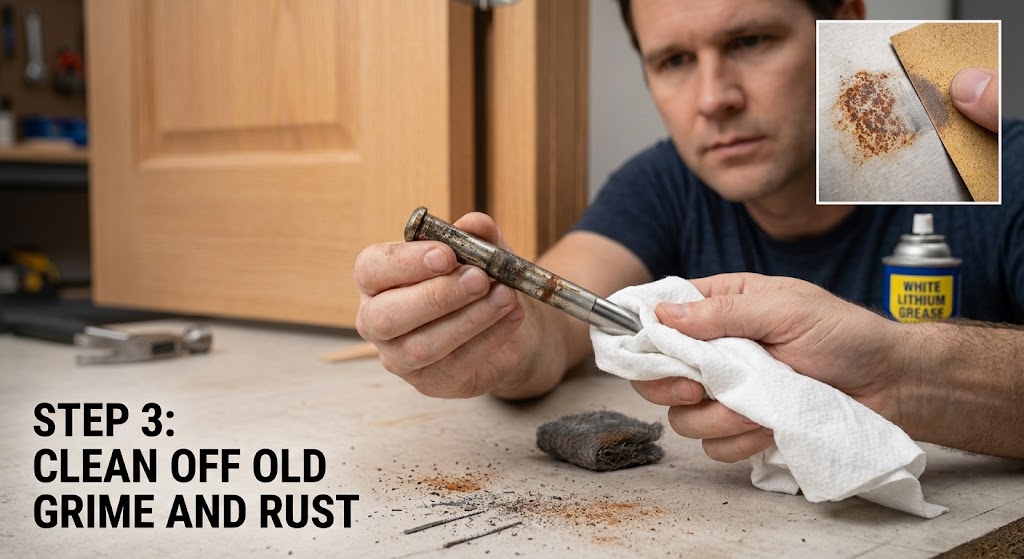
Wipe the pin down with a rag to remove dust, old oil residue, and any surface rust. If there's noticeable rust buildup, a bit of fine steel wool or sandpaper can help smooth it out before you re-lubricate.
Step 4: Apply Lubricant
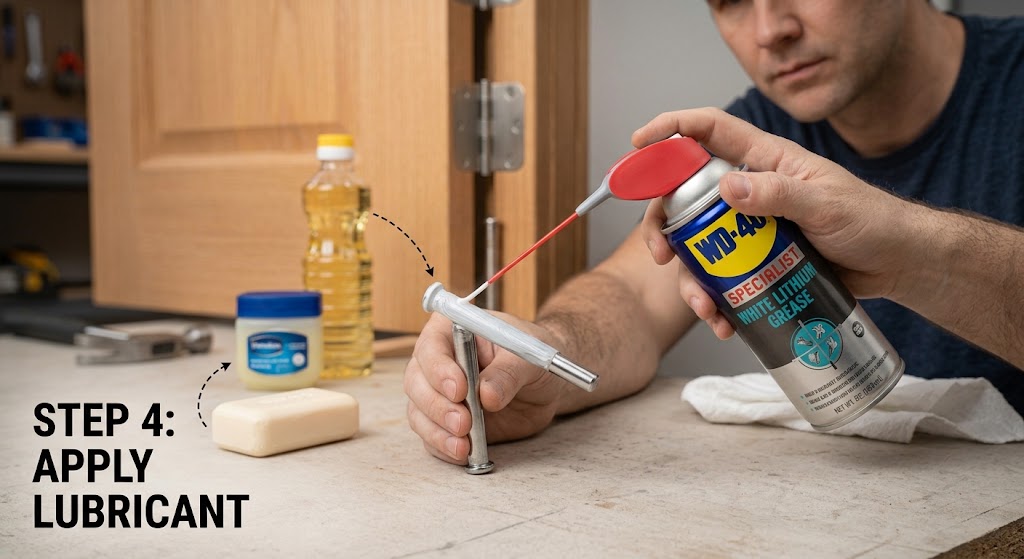
Coat the pin evenly with your lubricant of choice. Household oil (like a multipurpose lubricating oil) works well for a quick fix, while white lithium grease lasts considerably longer because it doesn't drip or evaporate as quickly. If you don't have either on hand, rubbing a bar of soap, a bit of petroleum jelly, or even cooking oil on the pin will work temporarily until you can get proper lubricant.
Step 5: Reinsert the Pin and Test
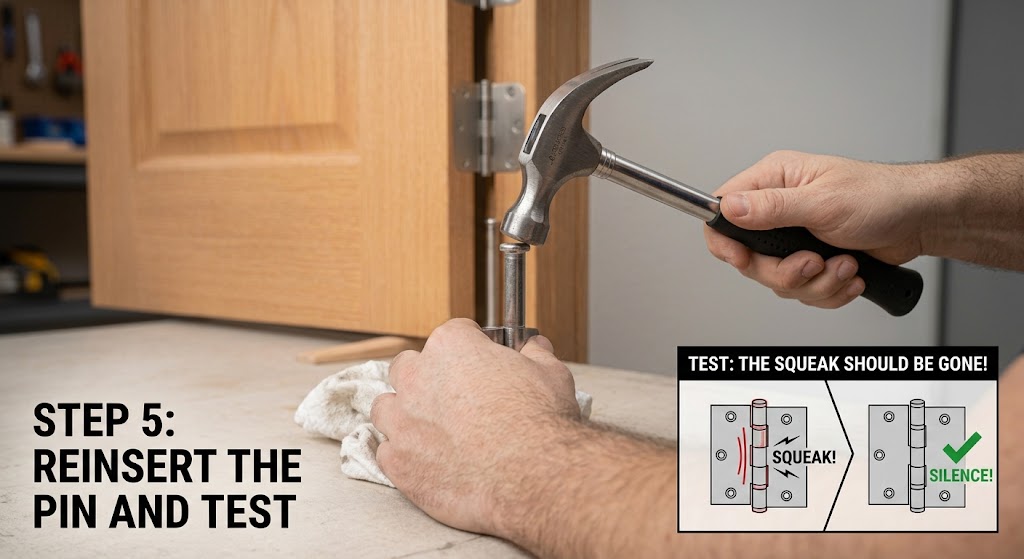
Slide the pin back into the hinge barrel and tap it gently back into place with the hammer until it's seated fully. Open and close the door several times to work the lubricant evenly through the hinge. The squeak should be gone immediately. If it's still present, repeat the process on the remaining hinges, since sometimes more than one is contributing to the noise.
Part 2: Fixing a Sagging Door
Sagging takes a bit more diagnostic work, but the repairs themselves are still well within DIY territory.
Step 1: Check Where the Door Is Rubbing
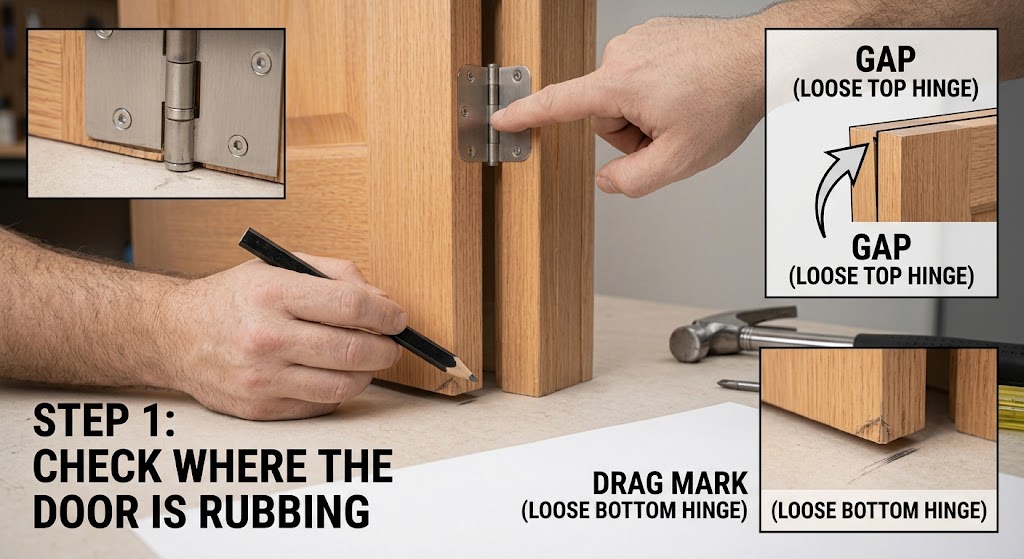
Close the door slowly and look for where it drags against the frame or floor. A door that rubs at the top on the latch side usually means the top hinge has pulled away from the frame. A door that drags along the bottom typically points to a loose bottom hinge or the whole door dropping slightly. Mark the rubbing spot lightly with a pencil so you have a reference point later.
Step 2: Tighten the Hinge Screws
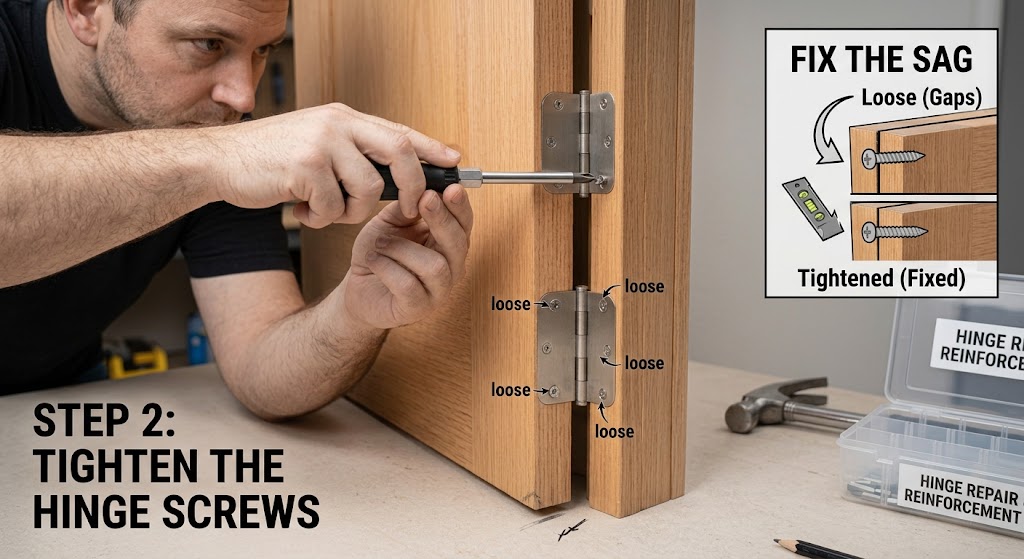
Start with the simplest possible fix. Open the door and check each screw on every hinge, on both the door side and the frame side. Loose screws are the number one cause of sagging, so tightening them first can solve the problem in minutes. Use a screwdriver or drill to snug each one down firmly, being careful not to overtighten and strip the screw head.
Advertisement
Step 3: Deal With Stripped Screw Holes
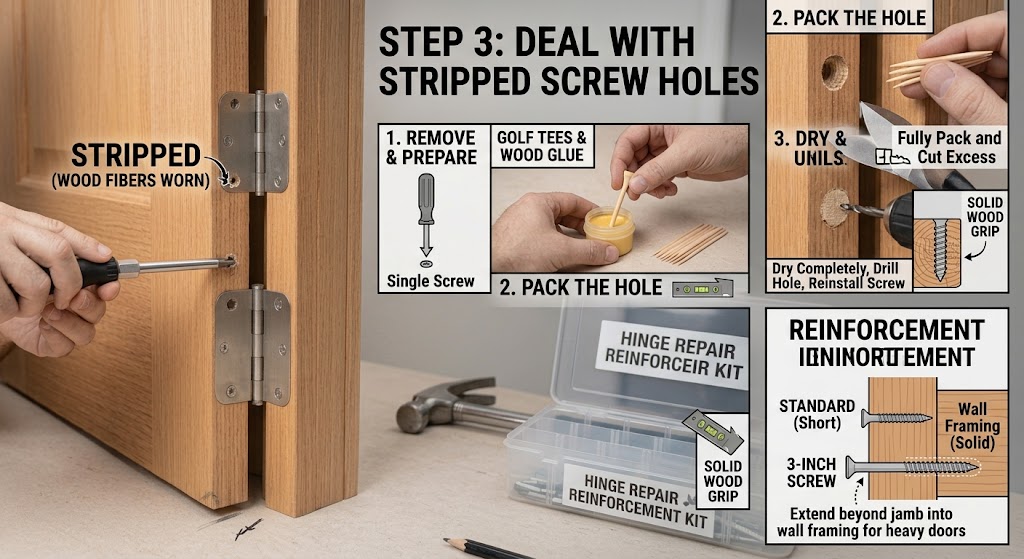
If a screw spins freely and won't tighten, the hole itself has worn out and no longer has enough wood fiber to grip the threads. This is extremely common and has a reliable fix:
- Remove the loose screw completely.
- Dip a wooden golf tee or a few wooden toothpicks in wood glue.
- Insert them into the stripped hole until it's fully packed, then snap or cut off any excess sticking out.
- Let the glue dry completely, which usually takes a couple of hours (check the glue label for exact timing).
- Drill a fresh pilot hole into the repaired wood and reinstall the screw. It should now bite into solid wood again.
For a longer-lasting fix, especially on heavier doors, replace the original short screws with longer 3-inch screws on at least one hole per hinge. These extend past the door jamb and into the actual wall framing behind it, which holds far more securely than the thin jamb material alone.
Step 4: Check the Door and Frame for Squareness
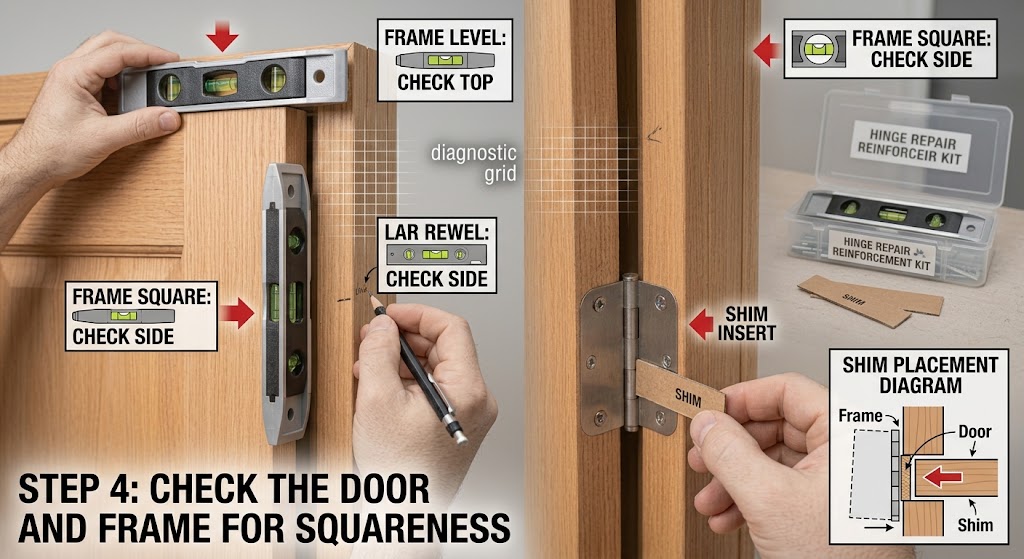
Hold a level against the door frame, both vertically along the side and horizontally along the top. If the frame itself is out of square due to house settling, tightening screws will only help so much. In that case, a thin cardboard or wood shim placed behind the hinge (between the hinge and the frame) can help push the door back into proper alignment. Loosen the hinge screws slightly, slide the shim in behind the hinge plate, then retighten.
Step 5: Address Wood Swelling
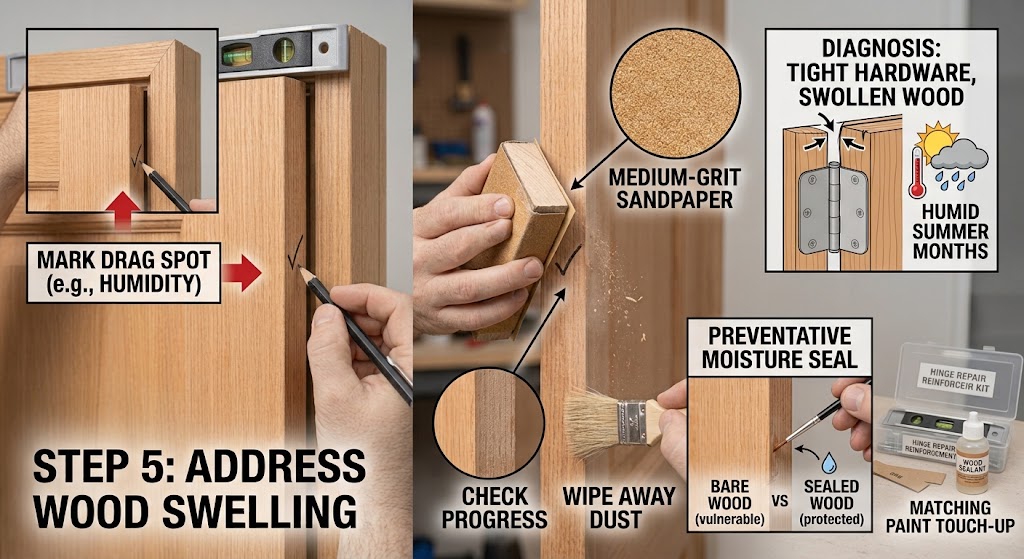
If the door is dragging along the top or side but the hinges are perfectly tight and square, humidity-related swelling may be the culprit, especially in wood doors during summer months. Once you've confirmed hardware isn't the issue, lightly sand the area where the door is rubbing using medium-grit sandpaper, checking your progress frequently so you don't remove more material than necessary. Wipe away the dust and, if it's a painted or finished door, touch up the sanded area with matching paint or sealant to prevent moisture from getting into the bare wood.
Step 6: Test the Door Thoroughly
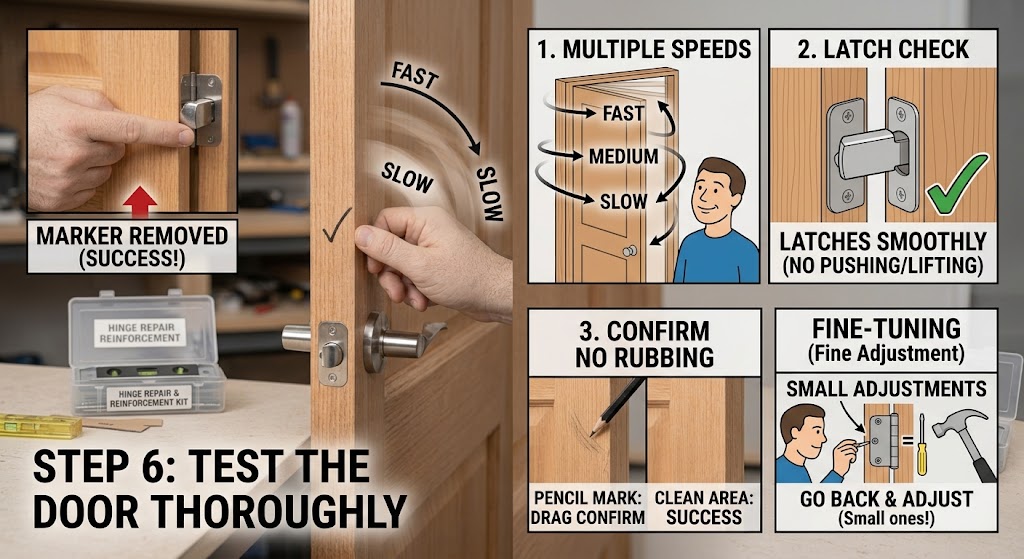
Once you've made your adjustments, open and close the door multiple times at different speeds. Check that it latches smoothly without needing to lift or push it into place, and confirm there's no more rubbing at the marks you made earlier. If it still catches slightly, go back and make small adjustments rather than large ones. This kind of repair usually comes down to fine-tuning rather than one big fix.
When to Call a Professional
Most squeaks and minor sags are well within reach of a confident DIYer, but there are a few situations where it's worth bringing in a carpenter or contractor instead:
| Situation | Why It Needs a Professional |
|---|---|
| Severe frame damage or rot | Water damage or wood rot around the frame means screws and shims won't hold reliably no matter how well they're installed. |
| Major foundation settling | If several doors and windows throughout the house are sagging or sticking, it may point to a structural issue that needs a proper inspection. |
| Exterior doors with security concerns | A sagging exterior door can sometimes affect how well it locks, which is worth having checked for safety reasons. |
| Warped or cracked door panels | Physical damage to the door itself, rather than the hardware, usually means repair or replacement beyond basic hinge work. |
Simple Habits to Prevent Future Squeaks and Sags
- Lubricate hinges once or twice a year as routine maintenance, even before they start squeaking.
- Check hinge screws every so often, especially on frequently used doors like the front entry or a bedroom door that gets opened dozens of times a day.
- Avoid slamming doors, since the repeated jolt loosens screws faster over time.
- Keep an eye on humidity levels in your home, particularly in older wood-frame houses, since consistent moisture control reduces swelling and warping.
Final Thoughts
A squeaky or sagging door might seem like a small annoyance, but it's also one of the most satisfying quick wins in home maintenance. There's something genuinely rewarding about swinging a door open and hearing nothing but smooth silence, or watching it close flush against the frame after weeks of catching and scraping. With a screwdriver, a bit of lubricant, and about twenty minutes of your time, most of these problems disappear for good, and you'll know exactly what to check the next time a door in your house starts acting up.
Disclaimer, No Liability: The authors and publishers of this website are not professional contractors and assume no liability or responsibility for any injury, damage, or financial loss resulting from the use or misuse of the information provided herein. All DIY projects are undertaken entirely at your own risk.
Related Articles
Advertisement
How to Fix a Squeaky or Sagging Door: Step-by-Step DIY Guide | Tricks and Tips for Life
Comments and Questions
Please log in to leave a comment or ask a question. Don't have an account? Register here.