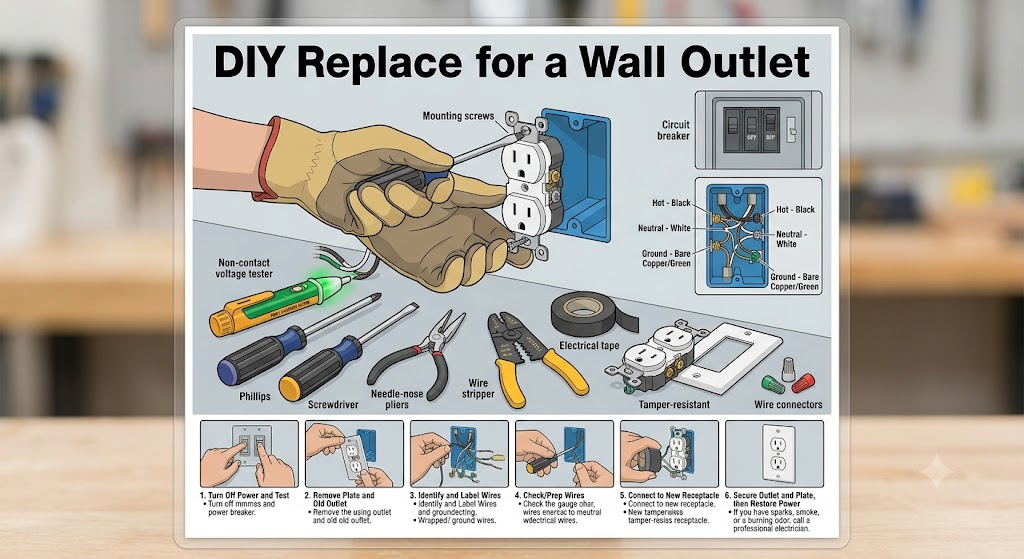
How to Replace a Standard Wall Outlet: Step-by-Step DIY Guide | Tricks and Tips for Life
How to Replace a Standard Wall Outlet: Step-by-Step DIY Guide
Learn how to replace a standard wall outlet safely. Follow this step-by-step DIY guide with tips on safety, wiring, tools, and receptacle sizes.
Home » Article » Diy » How To Replace A Standard Wall Outlet Step By Step Diy GuideAn excellent do-it-yourself (DIY) improvement is to replace a wall outlet. If you take safety precautions and follow the right procedures, replacing a typical wall outlet is a simple do-it-yourself project. It might be rather obvious when an electrical outlet needs to be replaced if the outlet can feel hot to the touch or have a damaged faceplate. Or you may detect a burning scent or see smoke or sparks. It's possible that a plug won't stay in the outlet or that objects put into it don't appear to be receiving electricity.
You may change an electrical outlet by following this guide.
Make sure you are at ease handling electrical wires before continuing. Make sure you are permitted to finish this project on your own by consulting your local building codes.
Tools and Materials Needed for this Project
- Phillips and flat-head screwdrivers
- Needle-nose pliers
- Wire strippers
- Voltage tester
- New outlet or switch (match amperage rating)
- Tamper-resistant faceplate (recommended)
- Electrical tape
- Wire connectors
Safety First Turn Off the Power
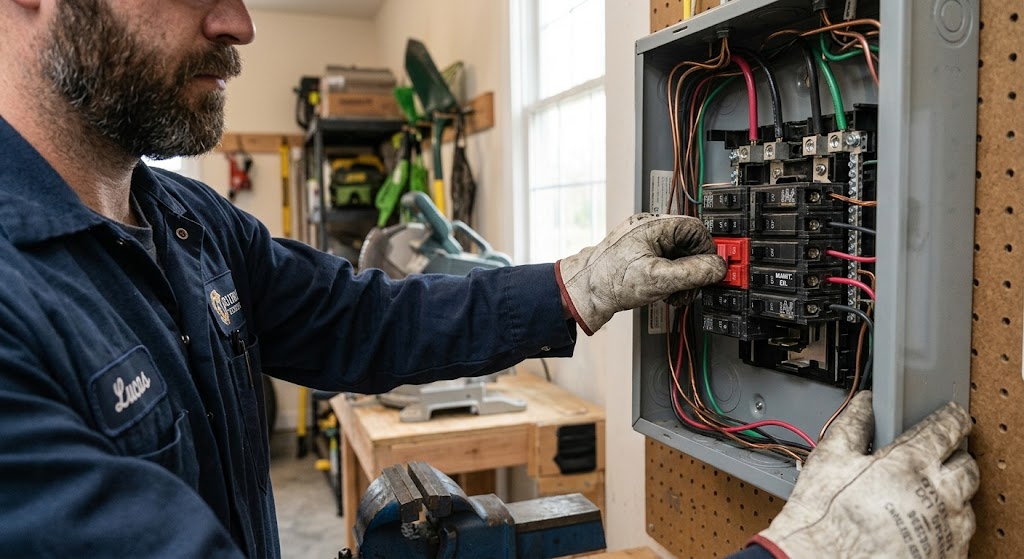
At the breaker box, turn off the circuit's electricity. To be sure, use a voltage tester. You might have flipped the incorrect breaker switch if the tester indicates current. Examine the service panel and switch off any additional circuits that might be supplying power to the outlet. If the tester displays no current, then repeat the test and move further.
Check the Outlet
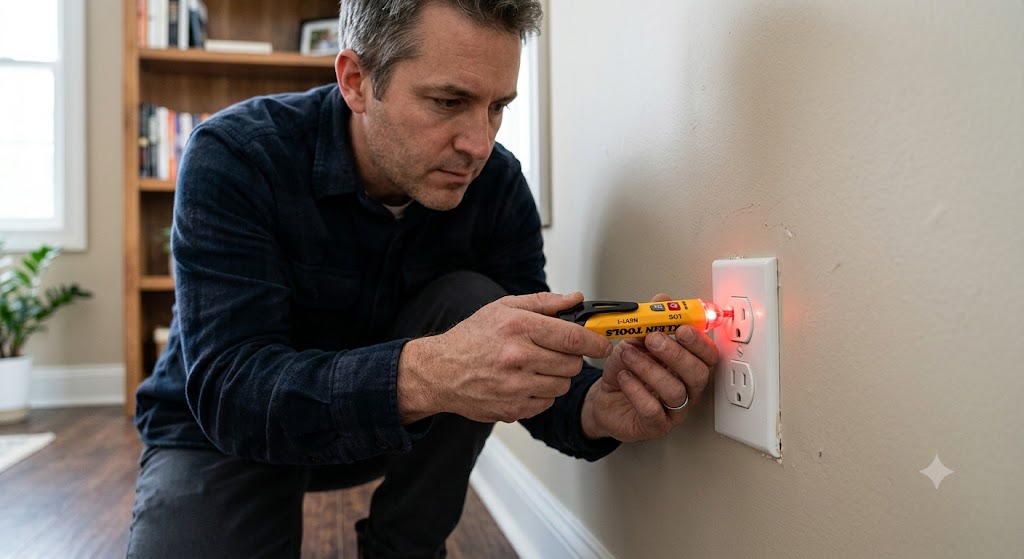
If the outlet is damaged or not, the receptacle wires could still be powered. Testing the outlet will tell you if the power is still on. To test the outlet, simply touch the tester probes to the top and bottom pair of terminals; you do this as if you were plugging in something you wanted electrified. In newer outlets, the hot wire is the black wire. They will be connected to the brass screw terminals. The neutral wire, typically white, is connected to the silver screw terminal. The ground wire may be either green wire coated or a bare copper wire. In either case, they get attached to the green grounding screw. If you have old wiring and both wires are black, look to see which black wire is connected to the silver terminal and which wire is connected to the brass terminal. You will want to label these so that you know which wire goes where when you put the new receptacle in.
Advertisement
Remove the Wall Plate
Remove the outlet wall plate by using a screwdriver to loosen the mounting screws. Take caution not to come into contact with the terminals or wires. Remove the cover gently.
Double Check the Outlet for Power
- Testing may reveal that no wires are powered, yet they may still be energized in a damaged outlet. The top pair of terminal screws is touched by tester probes, followed by the bottom pair.
- The hot wire that conducts live power is the black wire in more recent outlets and has the brass screw terminals that will be attached to them. The silver screw terminals are connected to the white neutral wires. Green-coated or copper wires are grounding wires. The green grounding screw on the outlet is where the grounding wire attaches.
- There could be multiple hot or neutral wires in your outlet. Make sure to wire everything precisely as it was when replacing an electrical outlet. You can use your phone to snap a picture so you can recall how the wires were connected.
- Use a voltage tester to make sure the hot wire is connected to the brass and the neutral wire is attached to the silver terminal if your wiring is old and both wires are black.
Determine the Outlet Size
120-volt outlets come in two different sizes. Examine the wiring to determine the required size if you are unsure of which one is in your outlet. Standard US residential 120V receptacles are rated for either 15 amps or 20 amps.
Steps:
- Verify the circuit amperage and the wire gauge. The circuit breaker or fuse is usually 15 amps, while the wires going to a receptacle are 14 gauge.
- If you compare 14-gauge wire to a coin, you might be able to tell. It will have a thickness comparable to that of a dime. You should install a 15-amp outlet since 14-gauge wire is connected to a 15-amp circuit breaker or fuse.
- When circuit wires are 12-gauge, they can be compared to the thickness of a nickel. A 12-gauge wire should have a 20-amp circuit breaker or fuse, so you should install a 20-amp receptacle.
- A 15-amp circuit should never have a 20-amp outlet installed.
- Consult an electrician if you are unsure about the size of the outlet you require.
Advertisement
Snip and Restrip Damaged Wire Ends
Use pliers or snips to cut away the damaged portion of a damaged wire end in order to carefully snip and restrip it. Find the gauge hole on your wire strippers that matches. To reveal the clean copper, pull straight off after gently clamping down and rotating the tool to cut the insulation.
Steps:
- After making sure the power is off, remove the wires by unscrewing the terminals. Avoid twisting them excessively.
- You'll need a wire stripping tool if a wire end looks damaged or nicked, or if it appears to have been twisted multiple times.
- Restrip the damaged wire after cutting off its end.
Install New Receptacle
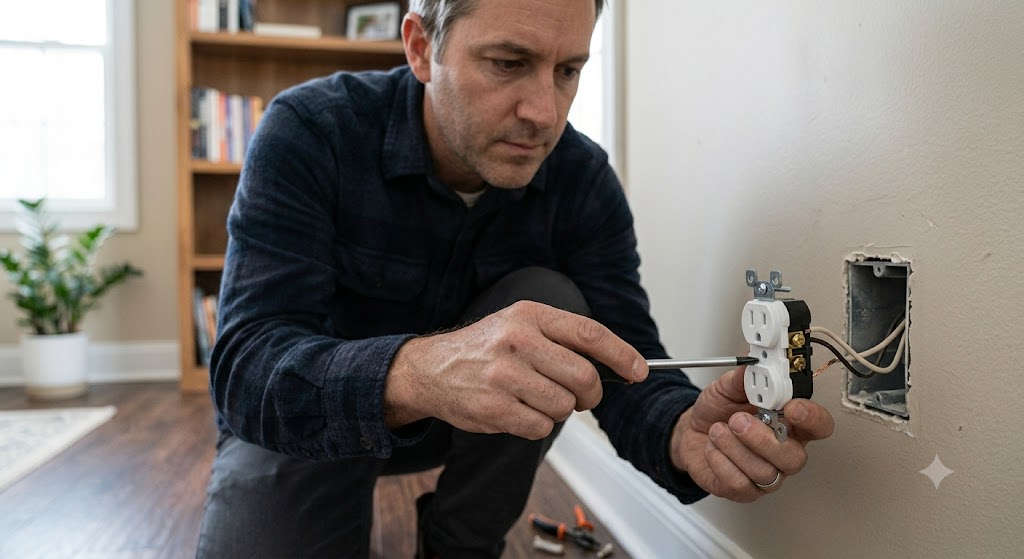
Steps:
- Connect each white wire to a silver terminal and each black wire to a brass terminal, just like you did with the previous receptacle. Cover all terminals and exposed wires with electrical tape.
- The outlet should be gently pushed back into the box. Make sure the receptacle is straight and tighten the mounting screws. Reinstall the wall plate.
- Replace the wall plate with a new one if it is damaged or cracked. In order to complement your walls or the general design of your house, you might also wish to change your wall plate.
- Restore power and use the voltage tester to check the outlet once the wall plate is firmly in place.
You can troubleshoot issues with a malfunctioning outlet if you know how to replace an electrical outlet. However, contact a professional right away if you have observed sparks, smoke, scorch marks, or a burning odor near an outlet.
VIDEO: Here is the video for your assistance. The creator is not my affiliate and hasn't compensated me for featuring the video.
Disclaimer, No Liability: The authors and publishers of this website are not professional contractors and assume no liability or responsibility for any injury, damage, or financial loss resulting from the use or misuse of the information provided herein. All DIY projects are undertaken entirely at your own risk.
Related Articles
Advertisement
How to Replace a Standard Wall Outlet: Step-by-Step DIY Guide | Tricks and Tips for Life
Comments and Questions
Please log in to leave a comment or ask a question. Don't have an account? Register here.